
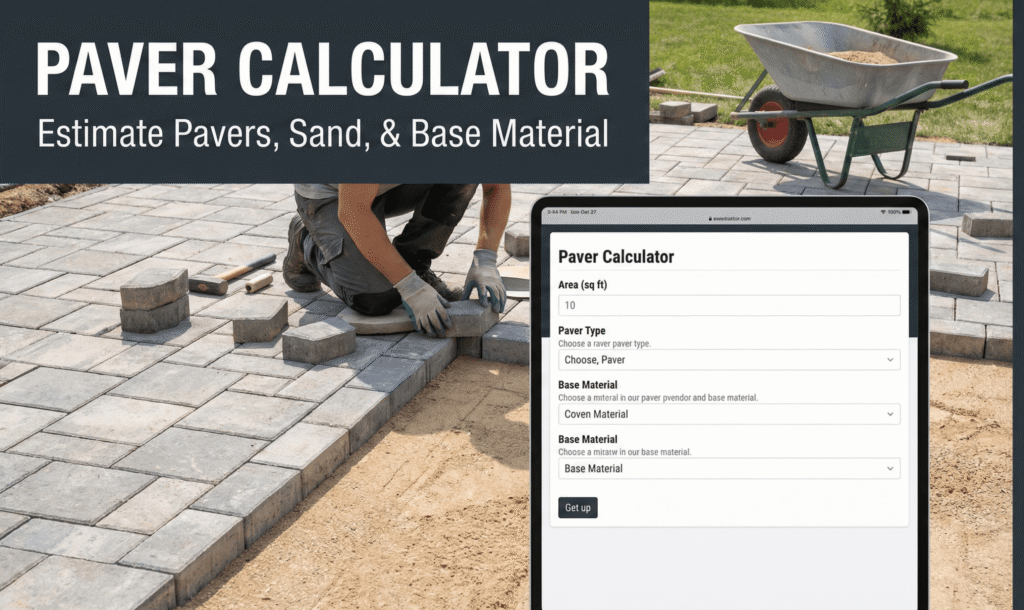

Paver Calculator: How to Figure Out Exactly How Many You Need
Standing in the driveway aisle of a hardware store, staring at pallets of pavers, doing frantic mental math? Yeah. Been there. It’s a weirdly stressful moment for something that’s genuinely just multiplication and division.
Let’s actually sort it out properly, so you’re not guessing or overbuying “just in case.”
Why Bother With a Paver Calculator at All?
Honestly, because guessing wrong is expensive both ways. Underbuy, and you’re making an awkward second trip mid-project, hoping the same batch is still in stock, which, if you’ve ever dealt with dye lot variations, you’ll know is genuinely a real headache. Overbuy, and you’ve got a stack of leftover pavers taking up garage space for the next three years, slowly becoming a storage problem nobody wants to deal with.
A proper calculation solves both problems in about five minutes. Worth doing properly, honestly, rather than eyeballing it.
Step One: Measure Your Space
Grab a tape measure. Measure the length and the width of your patio, walkway, or driveway area, in feet.
For a simple rectangle, this bit’s easy:
Area (sq ft) = Length × Width
So a patio that’s 12 feet by 10 feet works out to 120 square feet. Simple enough.
Got an irregular shape, an L-shaped patio, or a curved walkway? Break it into smaller rectangular chunks, calculate each one separately, then add them together. Messier shapes just mean a bit more arithmetic, not a different method.
Triangular section? Use area = 0.5 × base × height. Circular section, like a round fire pit patio? Area = π × radius².
Step Two: Work Out Your Paver’s Square Footage
This is the bit people trip up on, honestly, mixing up inches and feet.
Pavers are usually measured in inches, but your patio area is in feet. So you need to convert.
Paver sq ft = (Length in inches × Width in inches) ÷ 144
Why 144? Because there are 144 square inches in one square foot. That’s just how the units line up.
So, if you’re using a standard 4-inch by 8-inch paver:
Paver sq ft = (4 × 8) ÷ 144 = 32 ÷ 144 ≈ 0.22 sq ft
That means each individual paver covers roughly 0.22 square feet. Not a huge amount, which makes sense, it’s a fairly small brick.
Step Three: Divide to Get Your Total
Now the easy bit. Divide your total patio area by your paver’s square footage.
Number of Pavers = Patio Sq Ft ÷ Paver Sq Ft
Using our earlier numbers: 120 sq ft ÷ 0.22 sq ft ≈ 545 pavers.
Always round up, by the way. You can’t buy 545.4 pavers, and rounding down leaves you short right at the finish line, which is genuinely the most annoying way for a project to stall.
A Real Example, Start to Finish
Let’s run through a full one, just to make it stick.
Say you’re building a 15 foot by 10 foot patio. That’s 150 square feet total.
You’ve picked 12-inch by 12-inch pavers, a common, easy size.
Paver sq ft = (12 × 12) ÷ 144 = 144 ÷ 144 = 1.0 sq ft
Handy, that one, honestly, a 12×12 paver is exactly one square foot, so the math practically does itself.
Number of pavers = 150 ÷ 1.0 = 150 pavers.
Clean number. Not every paver size works out this tidily, but 12×12 is about as beginner-friendly as it gets, which is probably why it’s such a popular size for first-time DIYers.
Don’t Forget the Waste Factor
Here’s the bit a lot of first-timers skip, and honestly, it’s the part that saves you from a mid-project scramble.
Cutting pavers to fit edges, corners, and curves creates waste. Broken pieces during installation happen too, more often than you’d expect if you’re new to this. Industry advice generally suggests adding 5 to 10 percent extra to your total, just as a buffer.
So, taking our 150-paver example: 150 × 1.10 = 165 pavers, if you go with a 10 percent buffer.
That extra 15 pavers might feel like overkill in the moment. Trust me though, it’s cheaper than a second delivery fee, and it protects you against colour-matching headaches if the supplier’s next batch comes from a slightly different production run.
What About Patterns?
If you’re laying a simple grid pattern, straight lines, everything lined up, the maths above works perfectly fine as is.
Fancier patterns, herringbone, basket weave, running bond, complicate things slightly, but not dramatically. The trick is calculating the area of one full repeating “unit” of the pattern, then figuring out how many times that unit repeats across your total space. It’s more steps, sure, but it’s not fundamentally different math, just applied a layer deeper.
Honestly, for a first DIY project, I’d stick with a simple grid layout. Save the herringbone pattern for round two, once you’ve actually got a feel for handling the material.
Should You Even Bother Calculating This by Hand?
Not really, no, not if you don’t want to. Loads of free online paver calculators exist specifically to skip this manual math entirely, you punch in your measurements and paver size, and it spits out a number instantly.
That said, I think it’s genuinely worth understanding the actual formula behind it, even if you end up using a calculator tool anyway. Knowing the logic means you can sanity-check the output, and it means you’re not completely lost if you’re standing in a store without wifi, trying to work it out on the back of a receipt. Which, yes, I’ve done. Not my proudest moment, but it worked.
Final Thoughts
A paver calculator isn’t complicated once you break it into its three actual steps: measure your space, work out your paver’s coverage, then divide. Add a sensible waste buffer on top, and you’re set.
It’s the kind of unglamorous maths that saves you real money and real frustration down the line. Measure twice, calculate once, and you won’t be standing in a hardware store aisle doing panicked mental arithmetic. Trust me on that one.
Useful links: